Tuesday, 30 November 2010

Facial controls and fingers

I have set some driver keys and made some basic controls for Cornelius' face.  I did this by making a NURBS square and the some nurbs circles to act as controllers.  In the Set Driven Key window, I selected each NURBS circle and set it as a driver for a different blend shape and then I moved the NURBS circle and then keyed the blend shape poses; meaning that I could use the NURBS as controllers to change the facial expressions, rather than using the Blend Shape window.

Here is an example of how it works.  I suggest you watch in full screen!
As for the fingers, I was going to put in drivers, but I decided that for the project, it would be just as efficient to rotate and translate the joints, as I am not required to animate this character for the project.

I finished up by locking the translate, rotate and scale of my facial controller box.  As for the NURBS circles, I limited the movement, so that they could only translate on the Y axis (X axis in the case of the smile controller) and only within the controller box.

Rigging

This post is a little late but I've been busy with other stuff lately.  Here, I shall talk about the rigging of Cornelius.
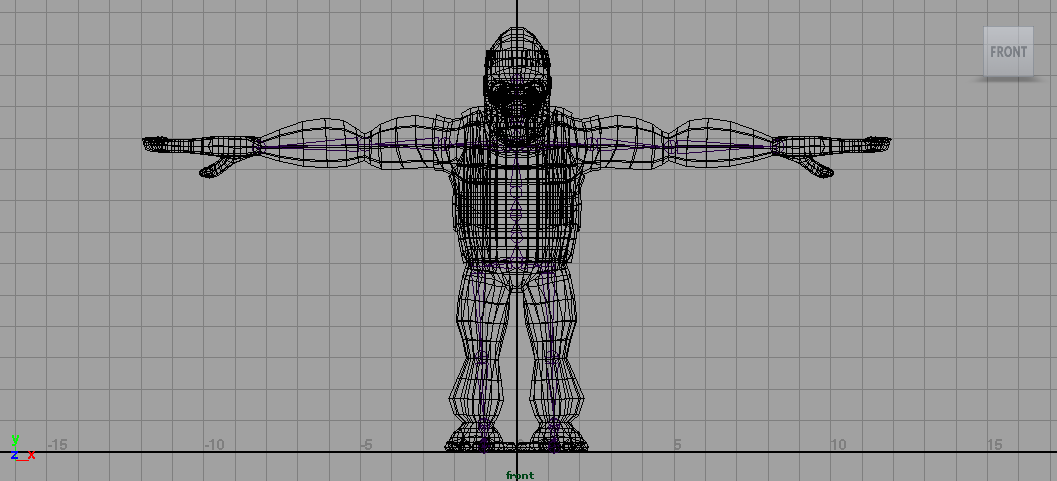
I have done several character riggings over the course of my degree and I find that I have become very proficient at it.  I managed to rig Cornelius largely without any tutorials to guide me, and I applied a Smooth bind to his skin.  I had previously been used to working only with Rigid binds but I discovered that with Smooth binds, I could have more control over the influence that each joint had, avoiding any further problems.

I also put some joints in his hands and fingers, as these will be important for 2 of the poses that I am considering.
During the rigging process, I discovered a problem with Cornelius' feet, in particular his inner toes, they were joined together by the vertices!
This meant that I had to delete the some of the faces in both of the offending toes and then create polgon faces and extruding them to make new toes from scratch.  I had to make sure these toes were not close to one another.
The new toes looked far cruder than the previous but they caused less problems.  I simply went around the joints in each leg with the Paint Weights tool to control the influence that each joint has on the geometry.

I did the same in the gorilla's arms and hands.
I also discovered that when I turned Cornelius' head, the top half would move further than the bottom half, creating a distorted effect, meaning I had to increase the influence of the head and neck joints, and decrease the influence from the chest.
I then went through the back joints and increased or decreased the influence to make sure his bending down is smooth.

The next stage is to set some driver keys for his face and possibly his hands.

Sunday, 28 November 2010

Blend shapes

I've just done the blend shapes for Cornelius's face;  I did this by creating various blend shapes in the Blend shapes window and adding the head as a base.
As I won't actually be animating this character, for the sake of this unit and time management, I stuck to a small set of facial expressions that I would be using for Cornelius.  I also made blend shapes for his eyelids, so he could open and shut his eyes.

Here is Cornelius with all the facial expressions that he is capable of.

In order to control Cornelius' facial expressions, I just need to control the blend shapes either with the slider in the Blend Shape window, or by creating driver keys.  Cornelius is starting to resemble the Hindu god, Brahma a bit too much, so I shall simply add all of the blend shapes to a layer which I will lock and make invisible, of course keeping the original head visible and in its own layer.

Next, I need to do Cornelius' rigging!

Saturday, 27 November 2010

Finishing modelling

I have just finished the last stages of the modelling, and slightly behind schedule; although if I get blend shaping and rigging done this weekend, I'll be back on top.

I modelled one half of his glasses, with a hollow polygon cylinder and then extruded arms and a bridge from the cylinder.  The lens is simply a NURBS curve.
I then Mirrored the geometry of the gorilla's head, and then I modelled his headband, again with a hollow polygon cylinder.  I then moved the vertices so the headband fit around his head more.

Lastly I modelled his eyeballs, Polygon spheres.
Here is how Cornelius looks at present, fully modelled.


Thursday, 25 November 2010

Mirroring Cornelius' body geometry

I've just mirrored Cornelius' body geometry, including his waistcoat and t-shirt, but not his head yet.  It looks pretty good so far!  Click to enlarge.
I did have to make a few amendments to his geometry, once it had been mirrored, primarily in his crotch region, which I had to delete a few edges from to make more smooth.  I also had to delete a few edges and merge a few vertices on his waistcoat, as well as move a few vertices that went into his skin geometry.

Next step is to finish modelling his glasses, along with mirroring his head geometry and I will be able to move onto the next step; blend shapes!

Ear modelling

I have modelled the gorilla's ear as, which I also did with the aid of a tutorial.  I used this tutorial on how to model a human ear: http://www.youtube.com/watch?v=QcYrUHRIqsE.  I also used a photo of a gorilla's ear that I found on the internet as reference.
A gorilla's ear is a slightly different shape to a human's ear in that the ear lobe is closer to the helix (the rim around the top of the ear), but the principle of making it from a hollow Polygon Cylinder and then extruding the inner parts was the same.
When I fully modelled the ear, I attached it to Cornelius' head, by the vertices.

Facial modelling

Here is the first of several posts that I will be posting today.  Here, I will recap on the facial modelling that I largely finished yesterday.  I modelled the face using this tutorial (http://www.youtube.com/watch?v=xls25e08sSg) as an aid, but i didn't stick to it stage by stage.

One of the errors that I came across in my character template was that the face in the front and profile was not lined up properly.
The eyes, nose and mouth in the profile image were slightly higher up than in the front image.  This meant that I had to decide on the relevant areas to have each part of the face without the adequate reference.  I was still able to use the profile reference to decide how much Cornelius' mouth should come out and the angles at which his eyes were visible from.
To produce his nose and mouth area, I was originally going to create separate polygons, but I decided that it would be easier to model them from the face that I had just produced.  I created the nose by cutting some edges around the nose area and then rotating the it out to make the round, flat shape.  I created the nostril by exturding a face and scaling inwards.
The mouth was created by pushing the edges around the area inwards, making a more distinctive shape.  and then extruding the faces outwards against the profile reference.

This is how the head looks at present.
Now all that is left is to model the ear, half of his glasses and then mirror the geometry.