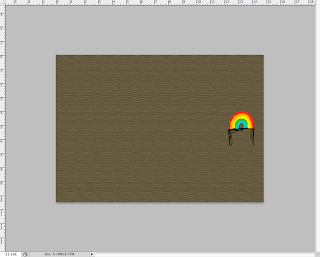
The waistcoat texture, I also created in Photoshop. I pretty much figured this one out by myself. I started by creating a new photoshop image and painting the entire canvas brown. I then opened the Filter Gallery to see what filters would be appropriate for creating
I came across one called the Texturiser, which gives it the grainy fabric effect. I applied it to my brown surface. The next thing to do was to apply the pocket with the rainbow pattern. Unfortunately, I did not have the luxury of a graphics tablet, so what I did was literally go back to my cornelius head shot drawing and copy the pocket and paste it on to my brown fabric image.
I scaled the pocket up as it came out quite small on the canvas, next I opened my Cornelius model in Maya and I created another basic lambert texture. I assigned the photoshop file to this lambert and then applied it to Cornelius' waistcoat.
For the UV mapping, I used spherical mapping, which split the UVs of the waistcoat into two halves. The rainbow pocket appears on the Cornelius' left, so I moved that half so it was over the rainbow pocket, and then scaled it down. The other half of the waistcoat looked uneven, so I scaled that down so all the texturing was more even. Here is how Cornelius looks now; pretty groovy!


No comments:
Post a Comment